Pre-Exhaustion and Post-Exhaustion
In today’s blog, Fitshop is here to break through the jargon and go back to basics to arm you with the knowledge you need to upgrade your training. Pre and post-exhaustion are two ways of training the muscles effectively and refer to how we work our target muscles. With pre-exhaustion, we isolate the muscle first before moving to a compound exercise. An example of this would be doing dumbbell chest flies before barbell bench press.
Strength Training at its Core
When it comes to building muscle, we want to initiate hypertrophy in our muscle fibres. We achieve this by overloading the muscle to exhaustion to promote growth. An effective way to do this is by super-setting—chaining sequences of different exercises together without rest. Two fundamental methods are post-exhaustion and pre-exhaustion. You may already be using these methods without realising it, but doing so with intent can upgrade your workouts to higher levels.
Post-exhaustion is the most common training method. If you’ve ever done a chest press and then moved into pectoral flies, you have used this method. The method here is to work your chest with a compound exercise (one that uses a number of joints) and then move on to an isolation exercise (one that targets a smaller number or single joint). With our chest press example, we perform the chest press first as it is a compound exercise, utilising the pec major, triceps and anterior deltoids. Next, we move to the isolation exercise, the pec flies, which target the chest specifically. The benefit here is that post-exhaustion allows for deeper muscle fatigue and greater overall muscle stimulation.
What Happens When We Reverse the Methodology?
By performing the isolation exercise first and then the compound exercise second, you will notice that the compound exercise becomes more difficult. By exhausting the isolated muscle, in this case, the pectoralis major, we put greater reliance on the synergist (helper) muscles to complete the exercise, forcing our target muscle to work to its maximum throughout the motion. This is pre-exhaustion training. This method is a brilliant way to overcome training plateaus and increase performance.
Which is Better?
They’re both great! I know, I know, that’s a cop-out answer, but it is true. For general fitness training, you will find that post-exhaustion is the most common and easiest to maintain over longer periods. However, you may find that you reach a stage where you’re not seeing progress, and that is where pre-exhaustion shines. Plateaus eventually happen to us all during progressive strength training. When we need to get over a plateau, post-exhaustive training often does not have the increased muscle activation required to push our bodies over the line.
How Can I Try These Methods?
These methods are great whether you’re new to strength training or looking for something new to try in your workout. However, there are some things to keep in mind when trying them out:
1. Limit Rest Periods Between Exercises As Much As Possible
The fundamentals of these methods are to limit your time between exercises. When exhausting your muscles, you want to make sure there is no time to recover, forcing the muscles to work as hard as possible. If you take a break between exercises, you will not feel the full impact of the methodology.
2. Form is Key!
This methodology has exhaustion in the title, and when our bodies get tired, form is often the first thing to fall. Whilst the occasional cheat rep or sloppy rep might get you to the end of a set, they should be avoided at all costs. Bad form is the quickest way to cause an injury, and these techniques are designed for muscle progression. Nothing stops progress more effectively than an injury!
3. Listen to Your Body
In line with the last point, these methodologies make us push our bodies hard, and while difficult, exhausting, and uncomfortable at times, they should not cause pain beyond DOMS (delayed-onset muscle soreness). Try these methods with a comfortable weight and increase the resistance once you are confident you can do it comfortably.
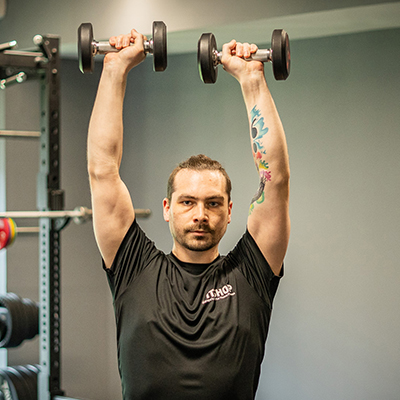
Example Workout
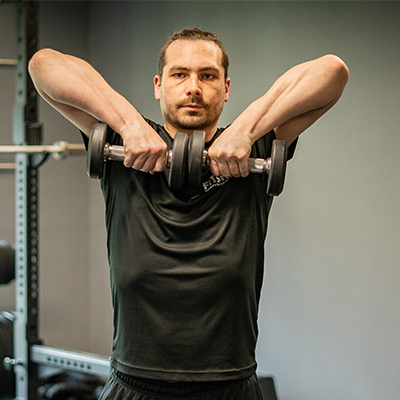
I love to do a shoulder set that targets the deltoids, as a pre-exhaustion set. Remember, start with a low weight. I recommend a set of 3-5kg dumbbells for this. This superset consists of four exercises in sequence, without a rest between them.
Dumbbell Lateral Raise x 10
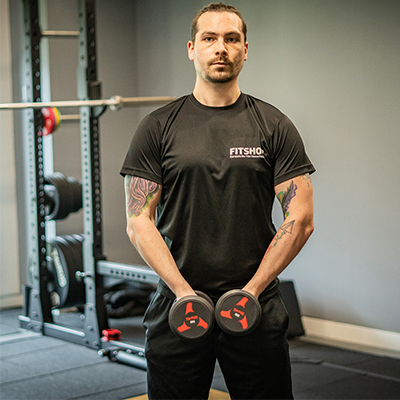
For good form, be sure to bend the arm slightly and lift only to 90 degrees. There is no need to go beyond the horizontal plane of the shoulder.
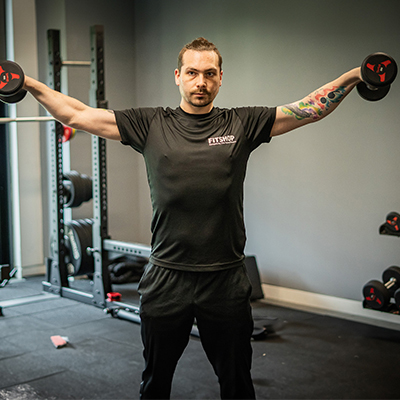
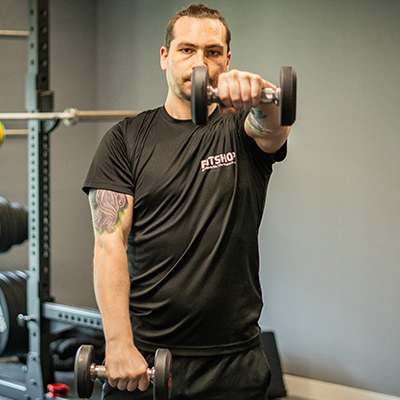
Alternating Dumbbell Front Raise x 10 Each Arm.
As before, keep a slight bend in the arm and only go to 90 degrees. With this exercise, imagine tracing a line up the centre of the body. As one arm raises, the other arm should descend to ensure both arms are in constant motion.
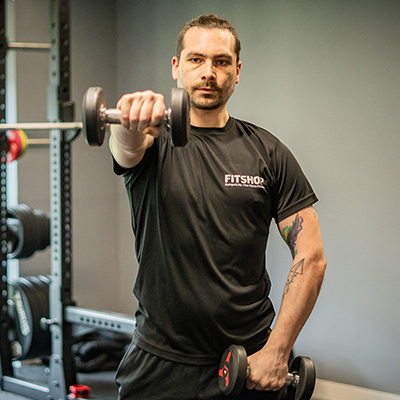
Dumbbell Upright Row x 10
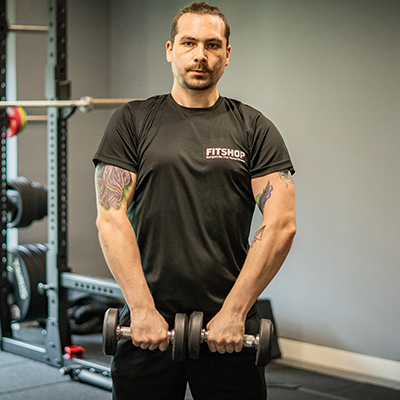
Bring the dumbbells to the centre line of your body and imagine tracing that centre line with the inner ends of the dumbbells, ensuring your elbows are up high.
Dumbbell Shoulder Press x 10
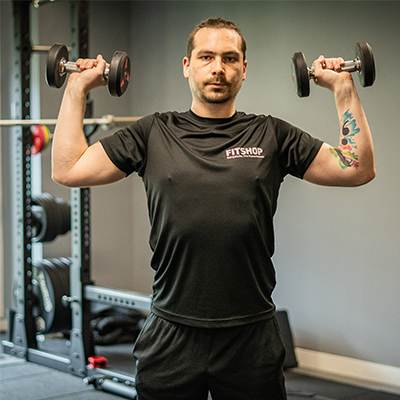
The final exercise may take you by surprise by how difficult it is to perform after the previous ones; concentrate on your form as you raise the dumbbells above your head.
Now, take a sixty-second rest and repeat two more times! Comment below and tell me how this felt for you.


Post Comment
You must be logged in to post a comment.